Dashboard
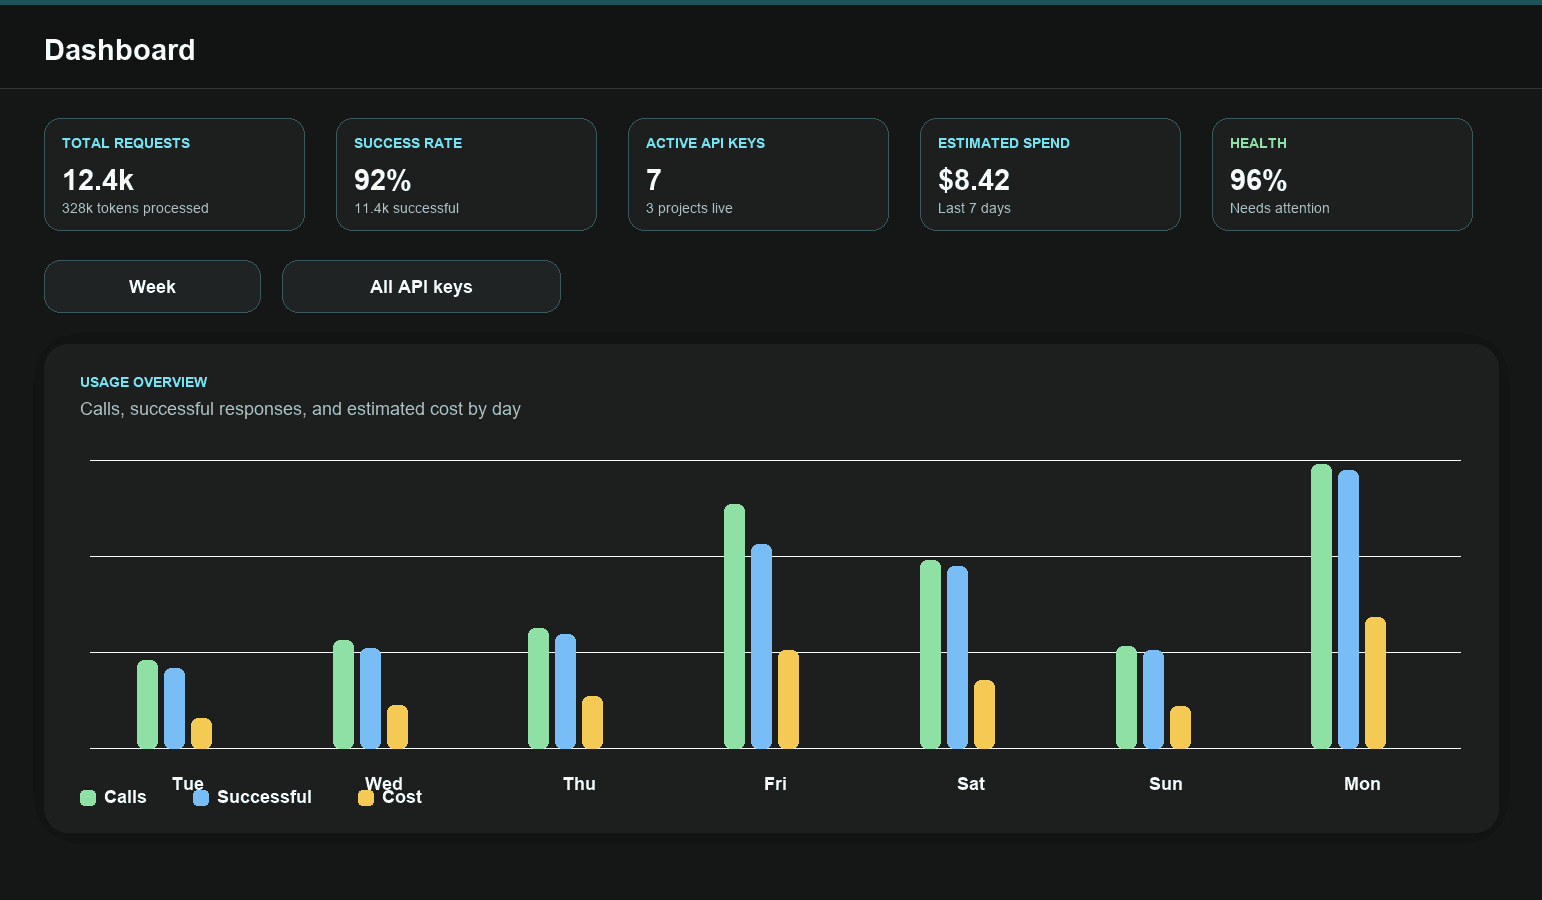
Usage, health, API keys, recent traffic, and empty states before requests exist.

Platform Guide
A clear overview of the platform control center for dashboard monitoring, interactive workflows, projects, API keys, billing, docs, voice, and support actions.
Platform Screens
Usage, health, API keys, recent traffic, and empty states before requests exist.
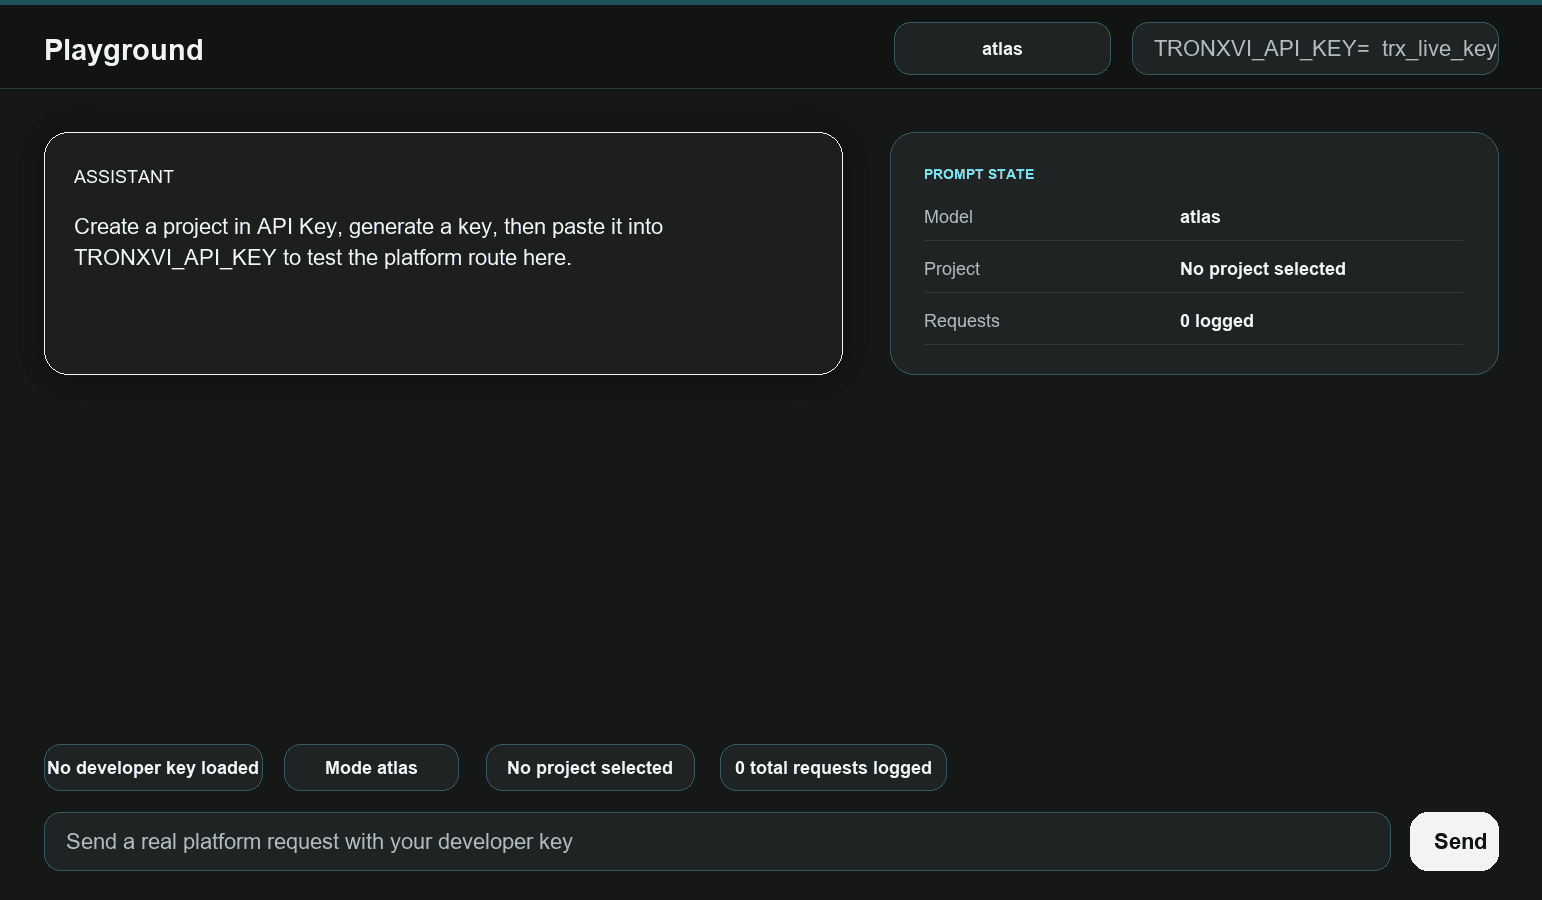
The text request workspace with mode selection and API key input.
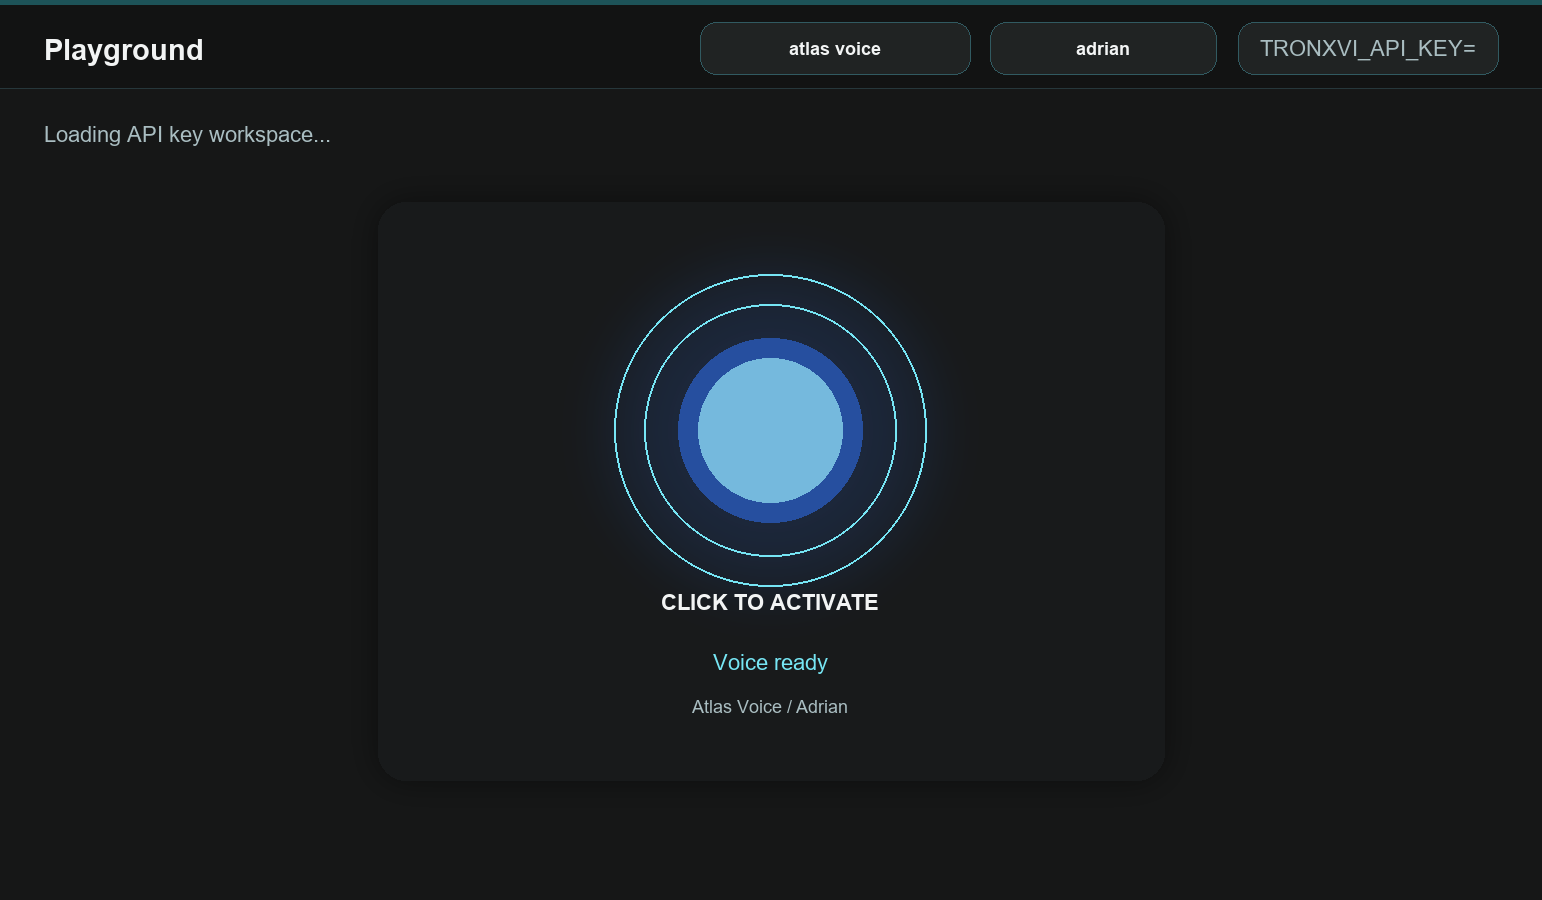
Realtime voice mode with Atlas Voice, Adrian, activation state, and voice readiness.
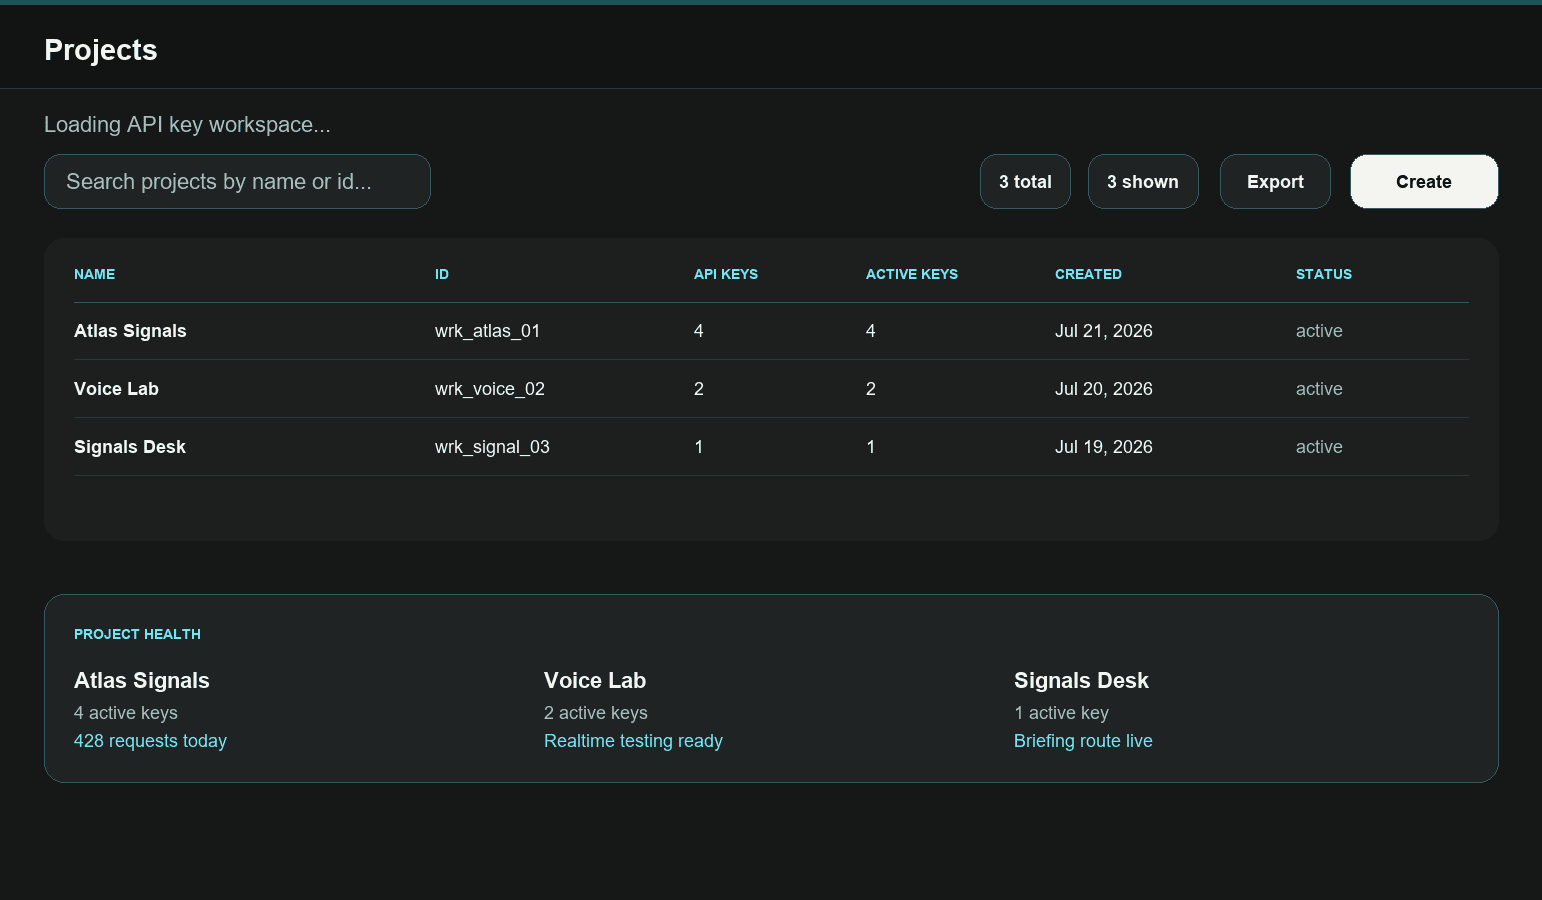
Project search, export, creation, table columns, and no-project empty state.
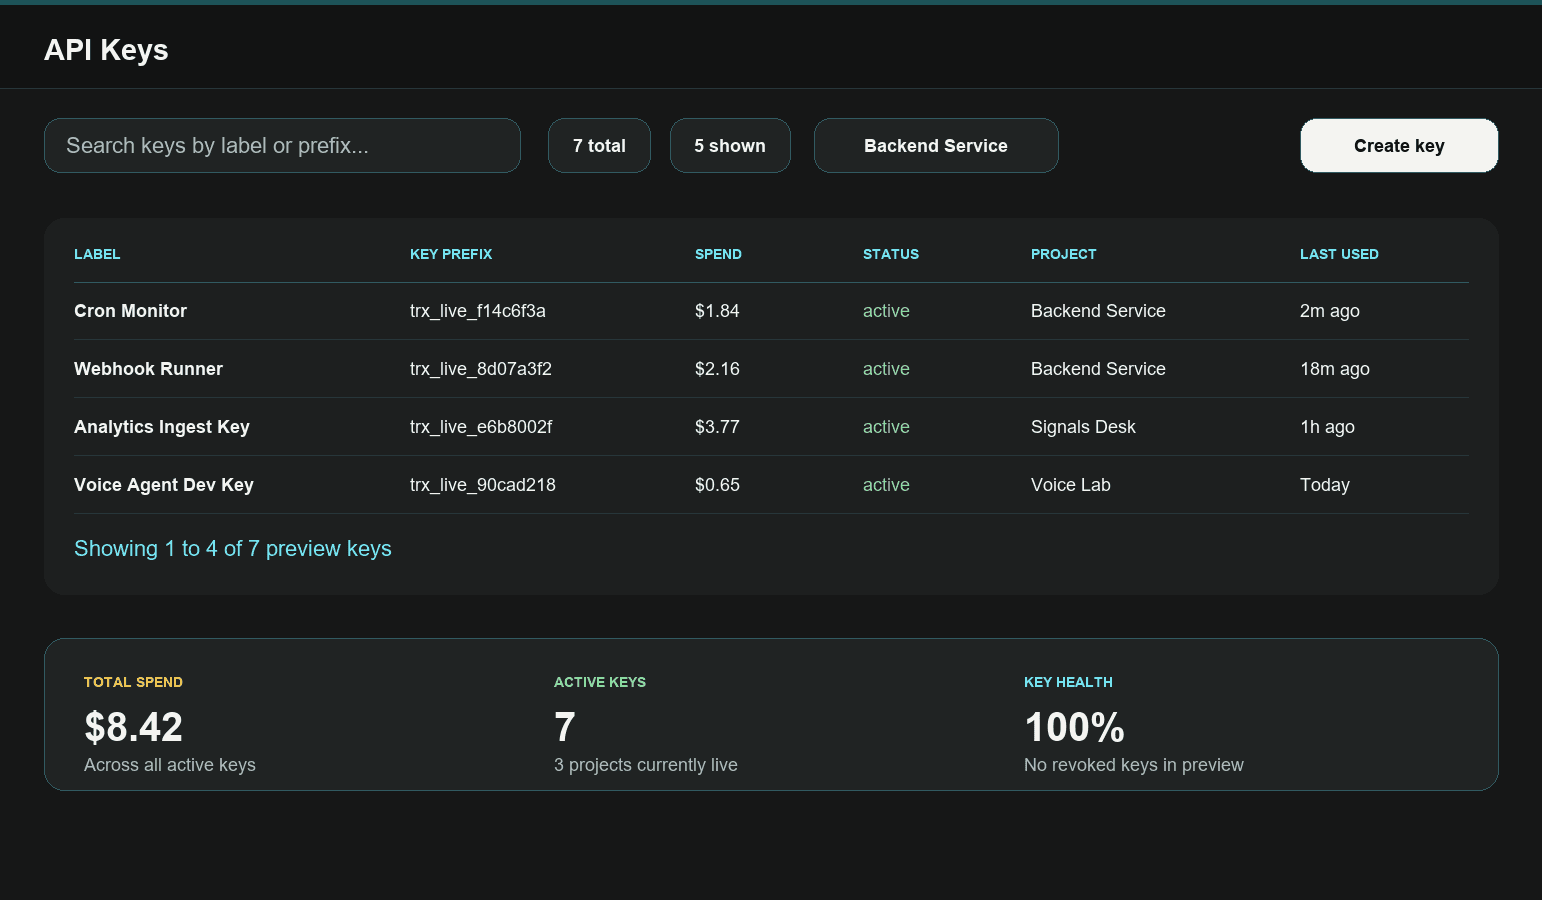
Key search, create key action, project dependency, and key table structure.
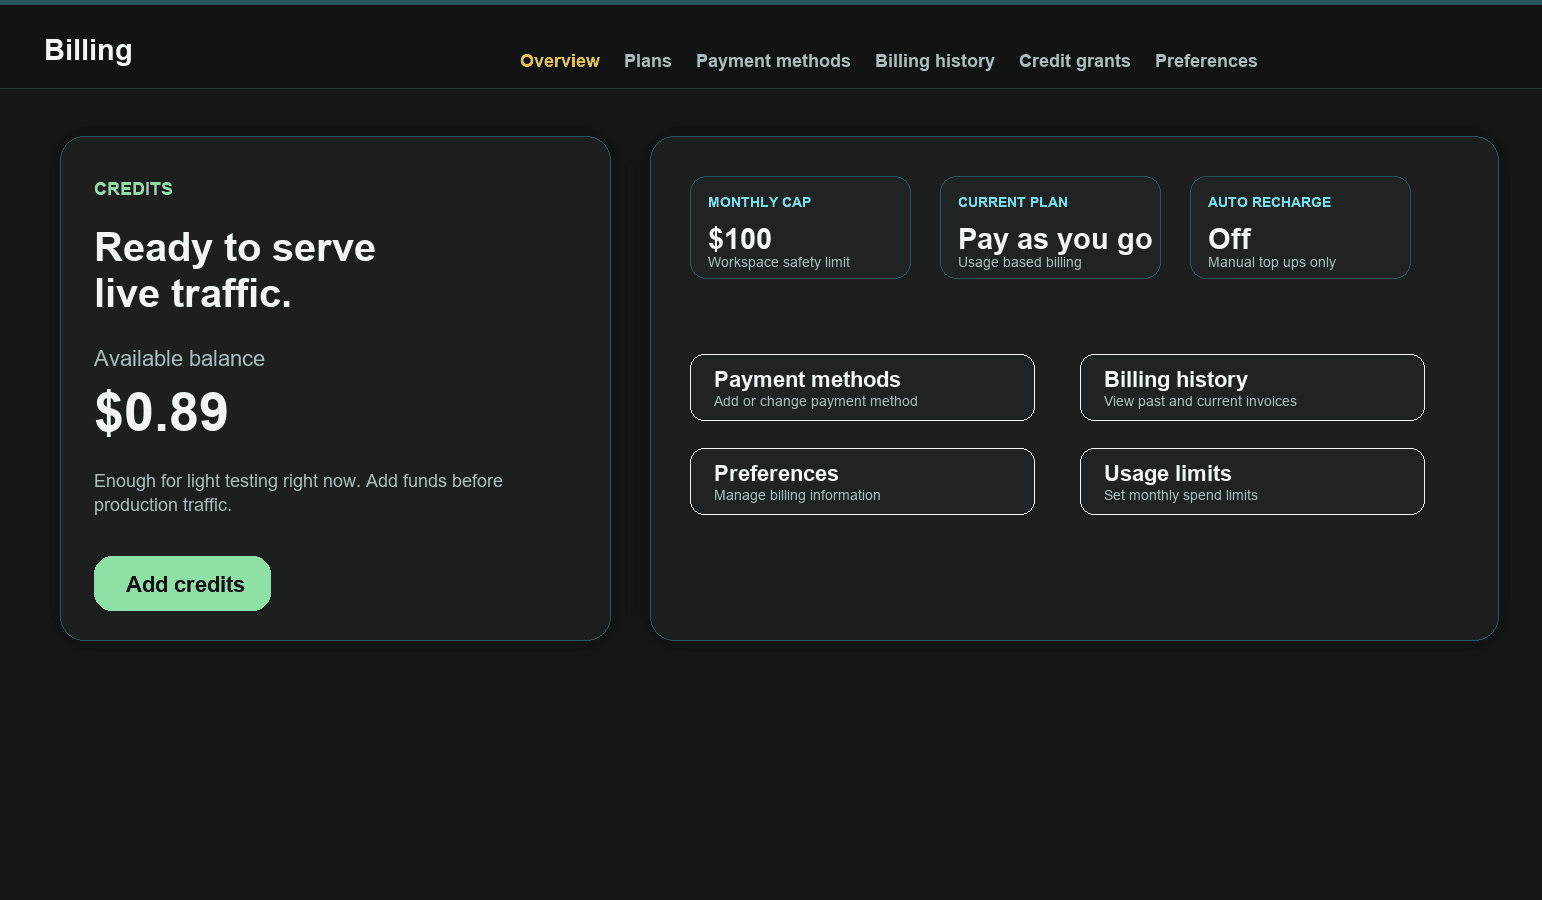
Balance, auto recharge, monthly cap, current plan, and billing tabs.
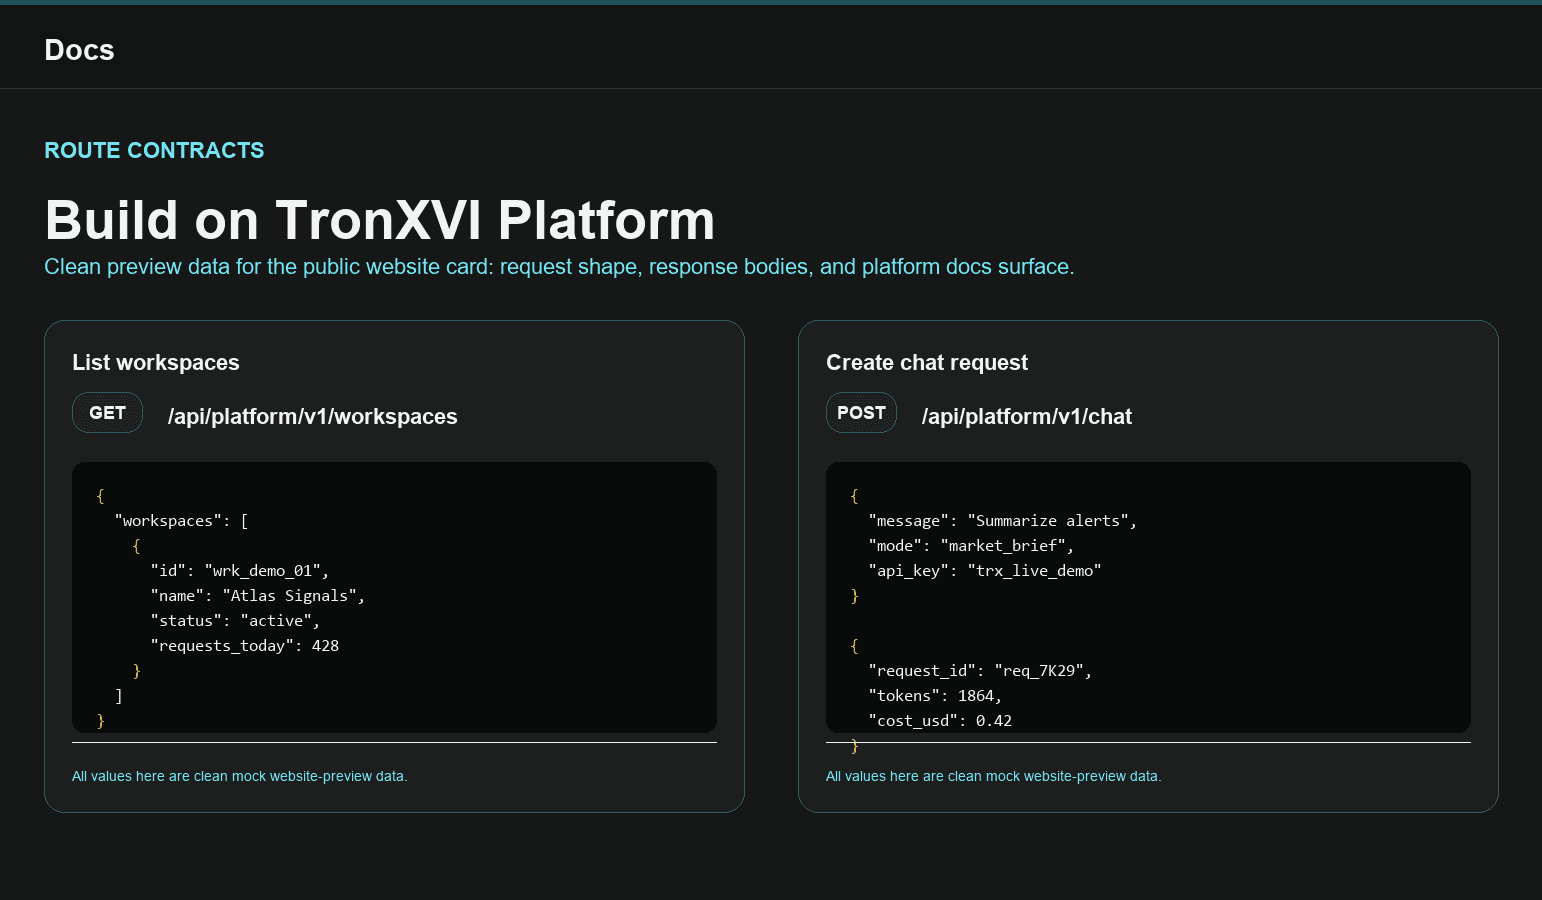
The integration guide for projects, keys, routes, text, and realtime voice.
TronXVI Platform is the separate control center for working with TronXVI beyond the main app.
The main app is where users chat, prompt, and work directly with TronXVI. The Platform is where users manage the deeper system around it: dashboards, projects, API keys, billing, docs, text testing, voice testing, and support actions.
The real Platform app currently opens with a dark console layout. A left sidebar stays consistent across the product and includes:
This page matches that actual Platform structure.
The sidebar is the anchor of the whole Platform experience.
It gives users the main map:
The Platform does not behave like a marketing page. It behaves like an operating console.
Dashboard is the overview screen.
In the current live Platform view, the Dashboard shows:
When there is no traffic yet, the Dashboard says:
No usage data for this filter yet.
No API keys yet.
That empty state matters. It tells a new user exactly what the workspace has and has not done yet.
Once requests start running through the Platform, this same screen becomes the place to confirm:
Dashboard is the Platform's pulse check.
Playground is where users test the Platform.
The live Platform currently shows:
TRONXVI_MODE=TRONXVI_API_KEY=The starter message says:
Create a project in API Key, generate a key, then paste it into TRONXVI_API_KEY to test the platform route here.That is the real Platform onboarding loop:
The Playground is not just a demo box. It is the place where users verify that their Platform key actually works.
The same Playground can switch into voice mode.
The voice view shows the selected integration values:
TRONXVI_MODE= atlas voiceTRONXVI_VOICE= adrianTRONXVI_API_KEY=Atlas VoiceIt is intentionally not a browser-side provider testing surface.
Instead of a text composer, the screen becomes a focused voice integration stage. Users choose a voice tier and a voice personality, then configure their customer backend to request an authenticated short-lived session through /api/platform/v1/realtime/sessions.
The visible voice name is friendly, such as Adrian, while the underlying provider voice and model are resolved by Platform. The customer backend keeps TRONXVI_API_KEY private and returns only the short-lived realtime client secret to its browser/app.
Projects organize Platform work.
The live Projects screen currently shows:
The project table columns are:
When no projects exist, the live empty state says:
No projects yet. Create one to start linking API keys.That is exactly what Projects are for. A project becomes the container that links API keys, usage, billing visibility, and integration work.
For a real user, projects might represent:
API Keys controls access to TronXVI Platform.
The live API Keys screen currently shows:
The keys table columns are:
When no project is selected, the live empty state says:
Pick a project in Projects first, then create a key here.That tells users the real order of operations. Keys belong to projects. The Platform wants users to create or select a project before creating access credentials.
When a key is created, the Platform is designed to show the full key once so the user can copy it and store it safely. After that, the key should be treated as sensitive.
API keys are how external tools connect to TronXVI.
They help answer:
For a single user, keys create control.
For a team, keys create accountability.
Billing is one of the most complete-looking screens in the current Platform.
The live Billing view contains tabs:
The Overview tab currently shows:
The live balance message says:
Ready to serve live traffic
Available balance
$0.89
Enough for light testing right now. Add funds or enable recharge before production usage grows.
The live auto recharge state says:
Auto recharge is off
Manual top-ups only
The current Platform UI presents balance, recharge, and limit controls, but the local Platform backend does not yet enforce prepaid credit shutdown. Today it records estimated usage after each request completes or fails. It does not stop an in-flight integration when estimated balance reaches zero, and it does not return an insufficient-credit or payment-required error for the next request.
That makes Billing a product direction and account-management surface today, not yet a live reliability enforcement surface. A production billing gate still needs persisted balances, recharge state, cap checks, and documented zero-balance error contracts before users can rely on balance exhaustion stopping traffic.
The Billing tabs describe the full billing direction of the product.
Plans gives users a place to understand the current plan and future plan options.
Payment methods is where cards or payment sources belong.
Billing history is where invoices and past payments belong.
Credit grants shows earned credits and milestones.
Preferences is where billing identity, invoice details, purchase order numbers, billing email, address, and tax information belong.
Promotions is where credit codes and applied promotions belong.
Together, these tabs make Billing feel like a complete account-management area instead of a single checkout button.
Docs is the integration guide inside the real Platform.
The live Docs screen starts with:
Build on TronXVI PlatformIt explains that TronXVI Platform exposes Web Search and realtime voice integrations.
The Docs page includes:
The Docs page tells users to store the API key server-side and avoid exposing it in browser bundles.
It also shows example environment variables:
TRONXVI_API_KEY=trx_live_xxxxxxxxx
TRONXVI_VOICE_MODEL=atlas_voice
TRONXVI_VOICE_NAME=adrian
Docs is where a user moves from clicking around the Platform to actually building with it.
The TRONXVI User profile area opens a quick-actions menu.
The live quick-actions menu includes:
This makes the Platform feel connected to support and feedback instead of isolated. If something is confusing, broken, or needs to become a custom workflow, the user has a direct place to act.
The Platform codebase also contains a support and admin workspace.
That workspace is designed around:
This is more internal-facing than the public Platform console, but it belongs to the same overall Platform story: TronXVI is meant to be monitored, supported, and operated from a real control surface.
A real user journey looks like this:
TRONXVI_API_KEY.atlas, scout, sentinel, or a voice tier.That is the complete loop: organize, secure, test, monitor, pay, and build.
The Platform makes hidden system behavior visible.
It helps users understand:
That is the difference between a simple app and a real platform.
The Platform should always make these things obvious:
If those ideas stay clear, users can understand the Platform even if they are not developers.
TronXVI Platform is the control room for the wider TronXVI system.
It has the actual screens a serious user expects:
The website Platform page should reflect that complete experience, not just describe the folder behind it.
That is the right public framing:
TronXVI Platform is where users go when they need deeper control over TronXVI.